The 8 Steps to Editing a Video for YouTube


Whether you're an aspiring YouTube star, a video marketer or simply a hobbyist looking add a few personal-interest videos to the platform, knowing how to edit your videos for YouTube is important. In this article, you'll learn the basic steps to lead you to success on YouTube.
Why you need to edit YouTube videos.
Editing is the most important post-production step for videos. Good editing makes your videos look professional, polished and fun to watch — all of which are important if you want people to watch your content. With about 300 hours of new content being uploaded to YouTube every minute, you need to do at least some basic editing for people to even consider watching your videos.
Done well, editing your videos, adding effects and cleaning up the colors and storyline can make your videos more compelling for viewers. The process enhances your story and makes it easy for viewers to follow.
8 Steps for editing your YouTube videos.
The following workflow is a rough characterization of the general process that most YouTubers use to edit their videos for the platform. It covers the entire post-production process that these video mavens use to ensure their films are properly edited and visually appealing to viewers.
1. Import and organize your original footage.
Unless you're recording and editing directly on your phone, you'll usually have to import your footage from whatever you recorded it on to your computer for editing. As you import the footage, organize your files while you go so it'll be easy to find what you need later.
You can use programs included with either the Mac (iMovie) or Windows (Movie Maker) operating systems, which are free, easy to use and sufficient for basic editing and special effects. If you have more advanced needs, you can use Adobe Premiere Elements, Sony Movie Studio Platinum or Pinnacle Studio — each of which costs under $100. These programs have more transitions and special effects to choose from and produce more sophisticated results. Finally, if you're working with a bigger budget and want to create the best-quality movies, invest in Adobe Premiere Pro or Final Cut Pro (bear in mind, however, that these can be more complicated to use, as they're feature-packed).
Finally, if you want to edit in YouTube itself, you can use YouTube Studio, which is the platform's built-in video editor. While it isn't fancy, it'll get the job done and allow you to do basic editing. You can find it in your YouTube menu:
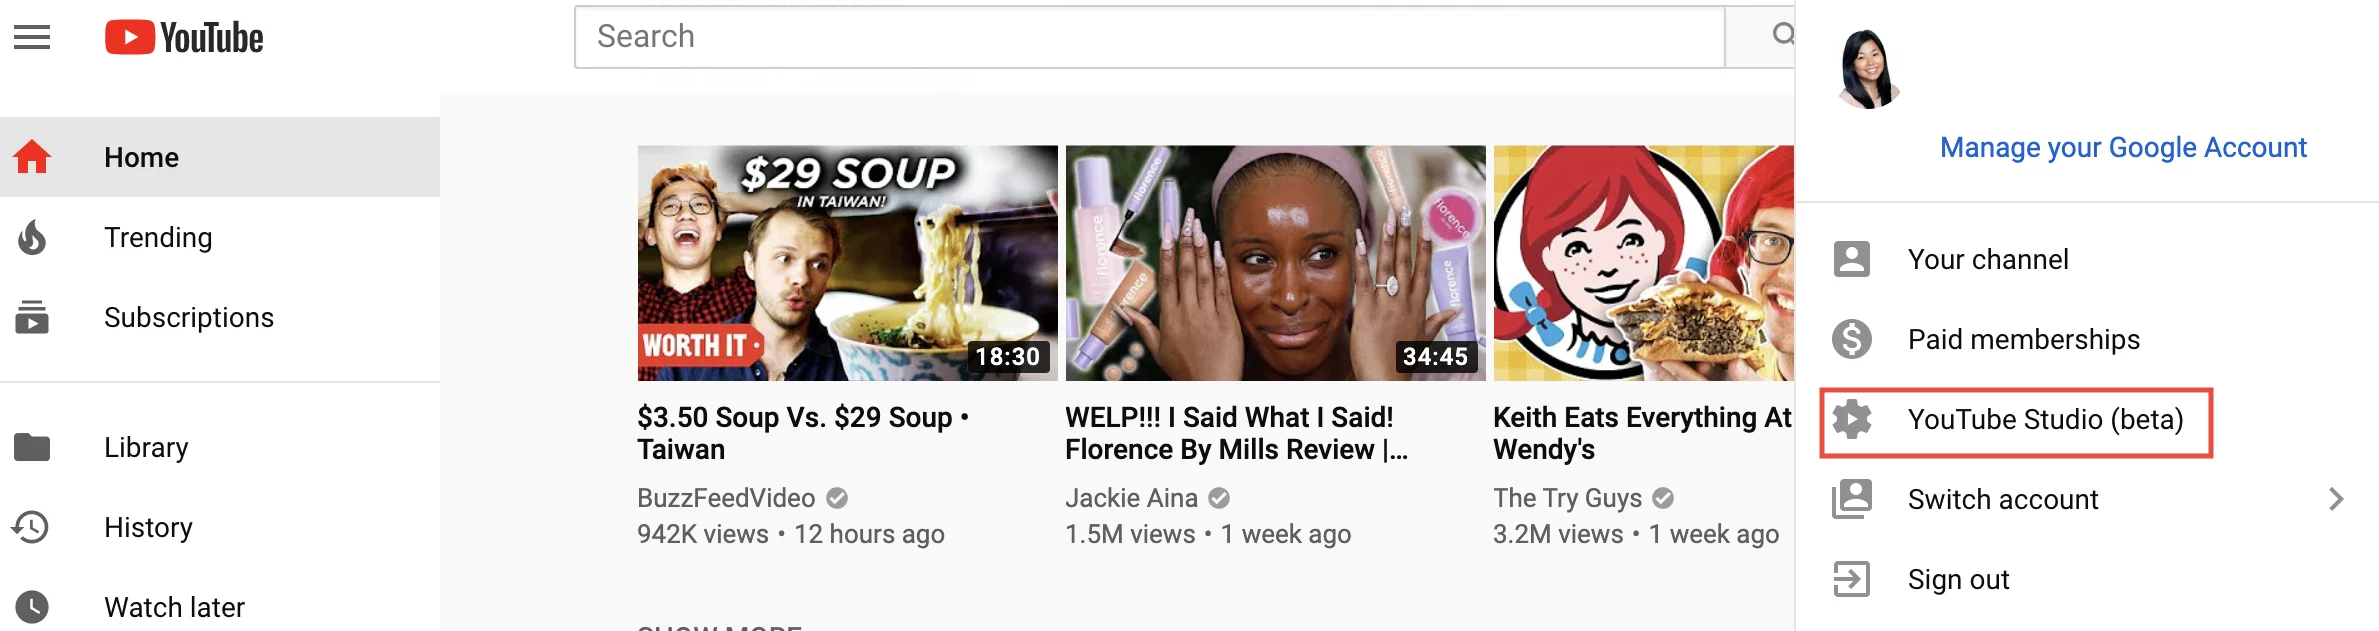 YouTube2. Review and place clips to go into the video.
Once you've imported your footage, you need to watch it and select the clips you want to use. Then, you should bring the clips into the project timeline and rearrange them to match the story you want to tell. Many video editing apps allow you to add "markers" to clips to identify important events (such as the position where you want to add sound effects).
3. Clean up your timeline.
Once you've placed all your clips into the timeline, you can trim or delete clips. You can remove long pause, filler words (such as "um" and "ah") and rearrange clips as needed to fit the desired narrative arc. When you're stitching clips together, using transitions (such as fades) in between shots can give the final production a more polished, professional look.
Once you've finished cleaning your timeline up, you should have a complete video that tells your desired story. Jumpiness between clips should also be smoothed out with transitions.
4. Add visuals and sound effects.
Once you've edited your clips together into a single video, you can enhance it with special effects. These may include superimposing text and other graphics, creating split-screen views where useful and adding background music. Most programs will guide you through this process step by step.
If you're looking for free music and sound effects for your videos, YouTube's Audio Library is a good place to start. It offers free music and sound effects that can be used in videos:
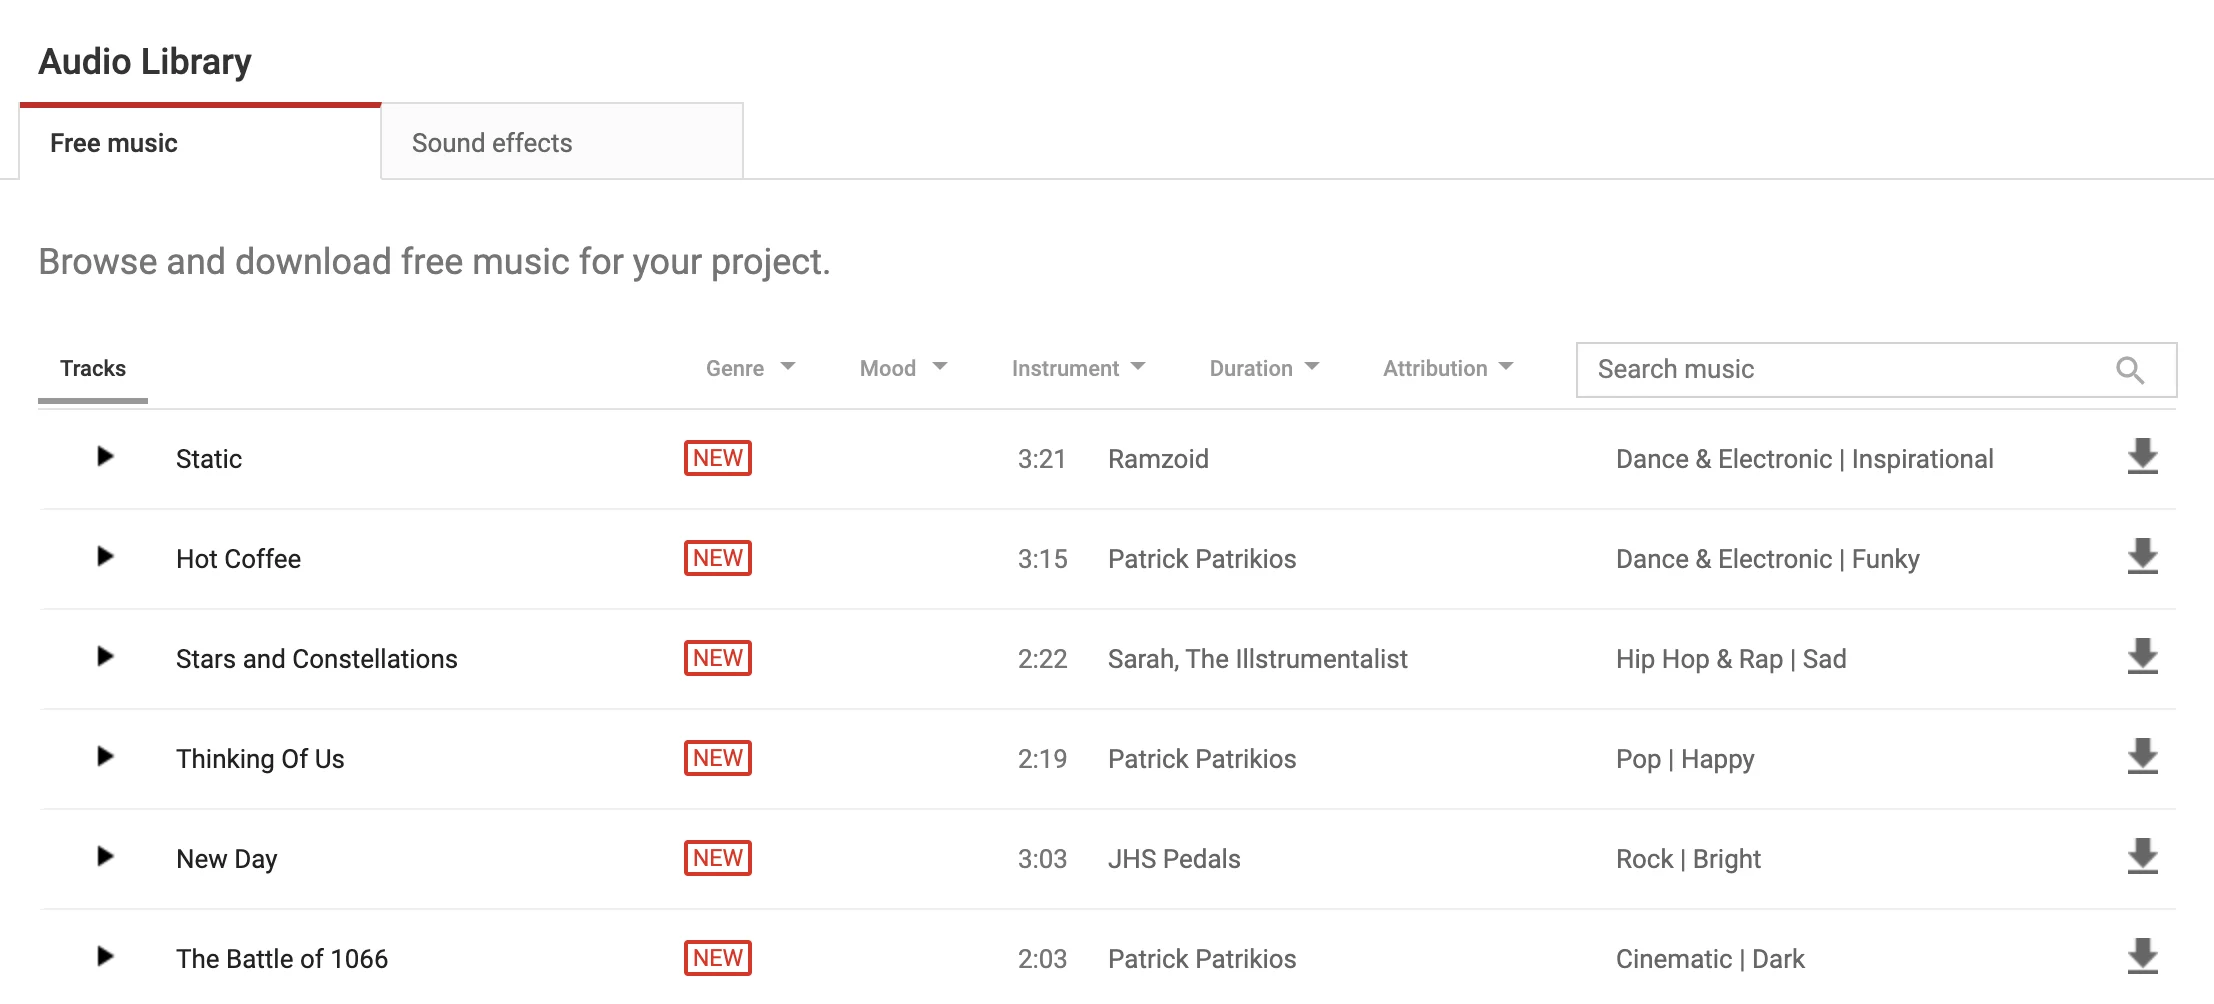 YouTube Audio Library
While you're using special effects, be careful not to go overboard. Your on-screen graphics and special effects should add to, not detract from, your message. This is definitely a case where less can be more.
5. Mix your sound.
Once you've added your effects, check your audio to ensure that voices, sound effects and music blend together properly. You can adjust various elements' audio as needed to ensure that sound levels throughout the video make sense.
6. Make color corrections.
You may want to make some color corrections to fix your video's brightness or change the color to match all your shorts. You can also adjust the color temperature to create a particular mood or increase the saturation and contrast to make your footage pop.
7. Review the final video a few times.
Once you've finished editing the video, watch it a few times to ensure that you're happy with how everything looks and sounds. You might even consider asking someone else to take a look, so you can have a second pair of eyes on it before exporting.
8. Export the video and upload it to YouTube.
When you're sure you're happy with the video, set the export settings to the desired aspect ratio (most likely 16:9 widescreens high is what viewers generally expect) and render the file in either 720p or 1080i high definition. Check if your software has a specific YouTube export option (many do) and select it if there is one. YouTube accepts most major file formats, so you're probably safe regardless of the option you choose, whether it be .AVI, .MP4 or .WMA.
Don’t miss out on articles like these. Sign up!
--
Lorelei Yang is a New York-based consultant and freelance writer/researcher. Find her on Twitter and LinkedIn.


Share your insight
Join an authentic community that helps women support each other at work. Share your professional experience or ask for advice — you can even post anonymously.